
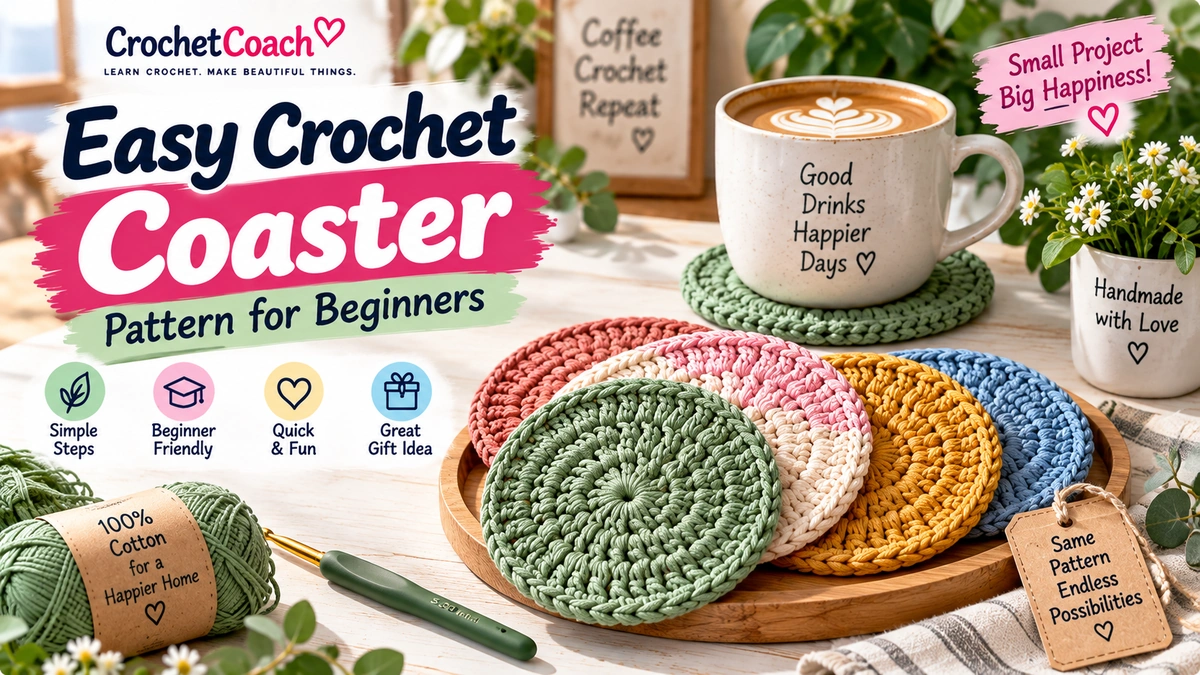
Looking for a quick crochet project that is simple, useful, and beginner-friendly? This crochet coaster pattern is a great place to start.
Crochet coasters are small enough to finish quickly, but they still give you valuable practice with basic stitches, working in the round, increasing evenly, and creating a neat finished edge.
In this tutorial, you’ll learn how to crochet a simple round coaster step by step. You’ll also learn how to keep your coaster flat, change its size, choose suitable yarn, add a decorative border, and fix common problems such as curling or wavy edges.
Crochet Coaster Pattern at a Glance
| Detail | Pattern Information |
|---|---|
| Skill Level | Beginner |
| Crochet Terms | US |
| Shape | Round |
| Main Stitch | Double Crochet |
| Starting Method | Magic Ring |
| Construction | Joined rounds |
| Approx. Diameter | 4–4.5 in / 10–11.5 cm |
| Recommended Yarn | Cotton |
| Hook | 4–5 mm, depending on yarn |
Finished measurements are approximate because yarn weight, hook size, and individual tension affect the final size.
Materials You’ll Need
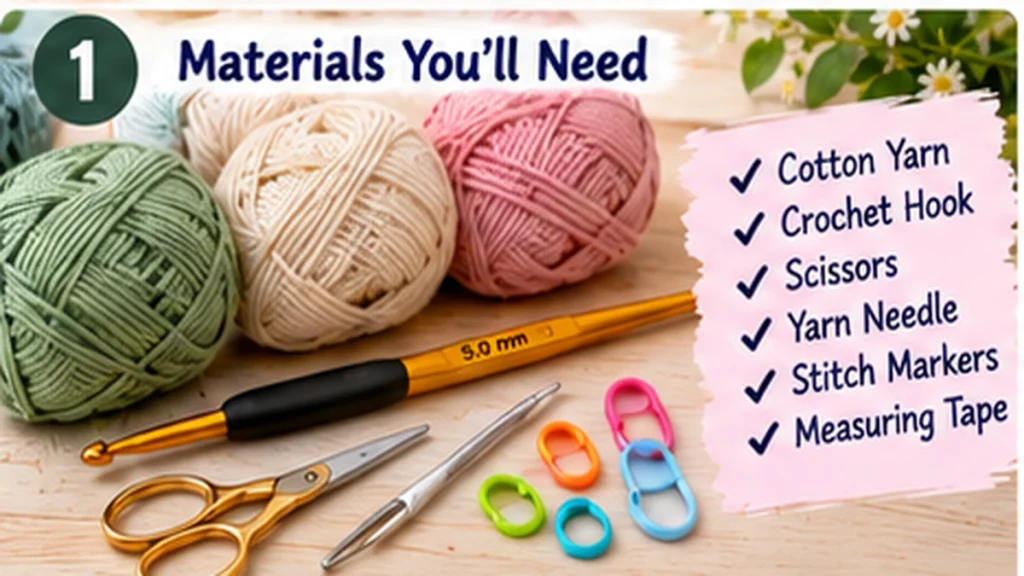
You only need a few supplies:
- Cotton yarn
- Crochet hook suitable for your yarn
- Scissors
- Yarn needle
- Stitch marker, optional
- Measuring tape, optional
A coaster uses relatively little yarn, making this a useful project for leftover yarn from larger crochet projects.
Why Cotton Yarn Works Well for Crochet Coasters
Cotton is a practical choice for many coaster projects because it is absorbent, durable, and creates good stitch definition.
It also generally handles the warmth and moisture associated with cups better than many novelty fibers.
Always check the care and heat recommendations for the specific yarn you use, especially if the coaster will be placed under very hot drinkware.
Crochet Abbreviations
This pattern uses US crochet terminology.
| Abbreviation | Meaning |
|---|---|
| MR | Magic Ring |
| ch | Chain |
| dc | Double Crochet |
| sc | Single Crochet |
| sl st | Slip Stitch |
| st/sts | Stitch/Stitches |
Standard crochet abbreviations can be checked through the Craft Yarn Council.
Free Crochet Coaster Pattern
The basic pattern is:
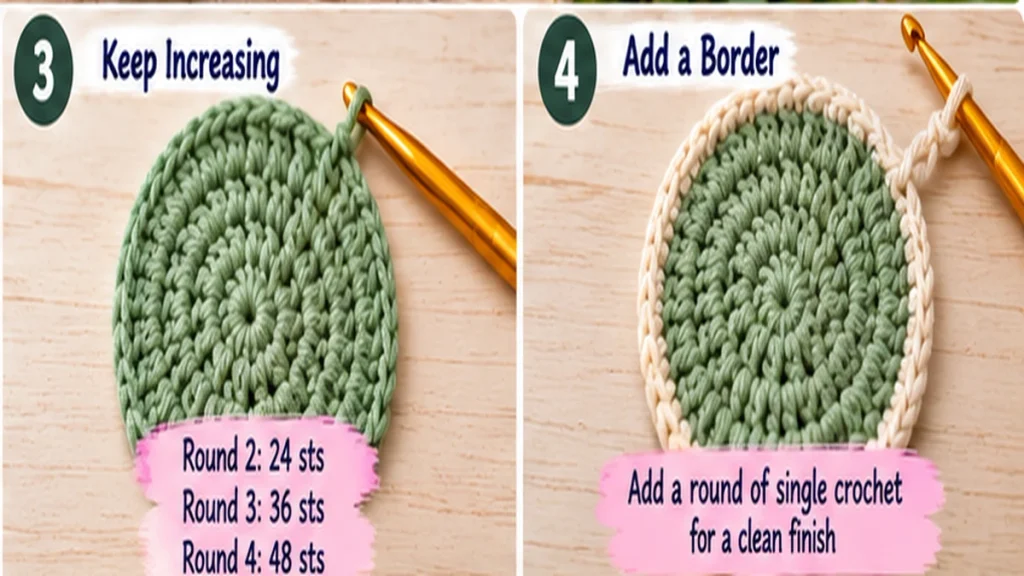
Round 1: 12 dc in magic ring — 12 sts
Round 2: 2 dc in each stitch around — 24 sts
Round 3: (1 dc, 2 dc in next stitch) around — 36 sts
Round 4: (2 dc, 2 dc in next stitch) around — 48 sts
Finish with an optional single crochet border.
This produces a simple flat circle that can be used as a coaster.
Depending on your yarn, hook, and tension, you may need to stop after Round 3 or slightly adjust the increase rate to get the diameter and flatness you want.
Step 1: Make a Magic Ring
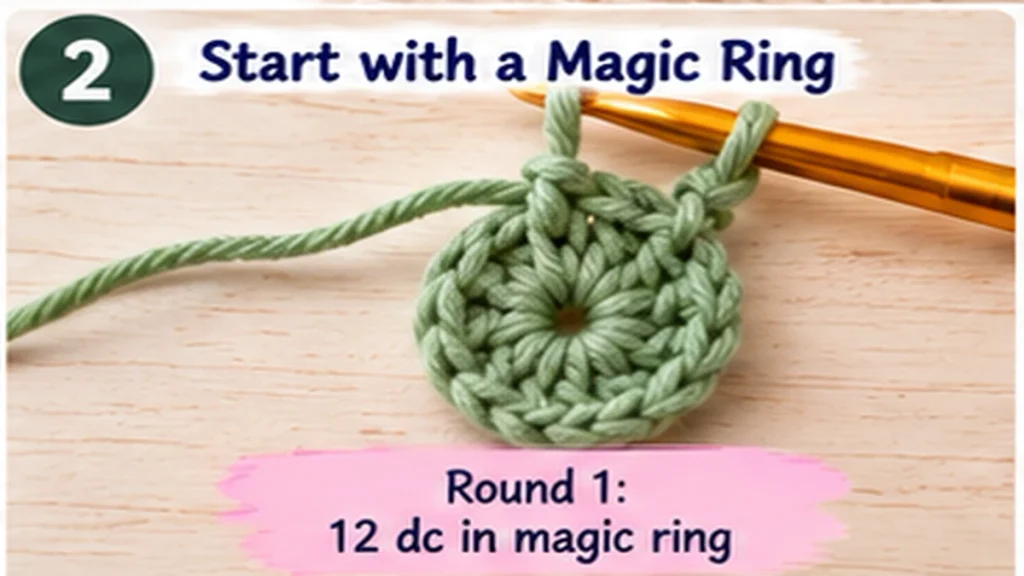
Start by making a magic ring.
Chain 2 for height.
Work:
12 double crochet stitches into the magic ring.
Pull the yarn tail to close the center.
Join to the first double crochet with a slip stitch.
You should have:
12 stitches
The beginning chain is not counted as a stitch in this pattern.
Step 2: Double the Stitch Count
Chain 2.
Work:
2 dc in each stitch around
Join with a slip stitch.
You should now have:
24 stitches
Your work should look like a small flat crochet circle.
If it begins curling dramatically at this stage, check that you haven’t missed any increases.
Step 3: Increase to 36 Stitches
Chain 2.
Repeat:
1 dc in the first stitch, 2 dc in the next stitch
Continue that sequence around.
Join with a slip stitch.
Total:
36 stitches
The circle should continue expanding while remaining relatively flat.
Step 4: Increase to 48 Stitches
Chain 2.
Repeat:
1 dc in each of the next 2 stitches, 2 dc in the next stitch
Continue around.
Join with a slip stitch.
Total:
48 stitches
Check the diameter.
For many yarn and hook combinations, the coaster should now be around 4–4.5 inches (10–11.5 cm) across.
Your result may be different, so measure rather than relying only on the stitch count.
Step 5: Add a Simple Border
The coaster can be finished after Round 4, but a single crochet border can give the edge a cleaner appearance.
Chain 1.
Work:
1 sc in each stitch around
Join with a slip stitch.
Fasten off.
Cut the yarn, leaving a tail.
Use a yarn needle to weave the yarn ends securely into the back of the coaster.
Your basic crochet coaster is finished.
How the Crochet Circle Increase Formula Works
Understanding the increase pattern makes it much easier to customize your coaster.
Our double crochet circle begins with:
12 stitches
Then each round adds approximately another 12 stitches:
12 → 24 → 36 → 48
The increase spacing changes each round:
Round 1: 12 dc
Round 2: Increase in every stitch
Round 3: 1 dc, increase
Round 4: 2 dc, increase
If you continue:
Round 5: 3 dc, increase
Round 6: 4 dc, increase
This is a common starting structure for a flat double-crochet circle.
However, it is better to treat the formula as a guideline rather than an unbreakable rule.
Yarn thickness, hook size, stitch height, and your personal tension can affect how many increases your circle actually needs to remain flat.
How to Make a Larger Crochet Coaster
If you want a larger coaster, continue adding rounds.
For example:
Round 5
Ch 2.
Repeat:
3 dc, 2 dc in next stitch
Continue around and join.
Total:
60 stitches
You can continue following the same basic progression until the coaster reaches your preferred diameter.
A larger version can also work as a:
- Mug rug
- Small plant mat
- Candle mat
- Decorative table mat
Be cautious when placing crochet pieces near open flames or very hot cookware. A handmade coaster should not be treated as a substitute for a heat-rated trivet.
How to Make a Smaller Crochet Coaster
For a smaller coaster, simply stop earlier.
For example, you may find that Round 3 already gives you the diameter you want when using thicker yarn.
Measure the coaster before adding another round.
There is no reason to add extra rounds if the project has already reached the correct size.
How to Keep a Crochet Coaster Flat
A flat coaster is more useful than one that curls into a bowl or develops ruffled edges.
The balance comes from adding approximately the right number of increases for your particular yarn and tension.
If the Coaster Starts Curling
A circle that curves upward like a bowl may need more circumference.
Possible causes include:
- Too few increases
- Missed stitches
- Tight tension
- Hook that is too small for your yarn
First, verify your stitch count.
If the count is correct but the coaster still curls significantly, your gauge may require a small adjustment.
If the Coaster Becomes Wavy
Ruffles or waves can indicate that the outer edge has too much circumference.
Possible causes include:
- Too many increases
- Accidentally adding stitches
- Loose tension
- Hook that is too large
Count your stitches before changing the pattern.
A small amount of movement can sometimes improve after finishing or blocking, but strong ruffling usually indicates a shaping issue.
How to Make the Circle Look Rounder
Even when a crochet circle lies flat, the placement of increases can sometimes create subtle corners.
This happens when increases repeatedly stack above one another.
One option is to stagger the increases in later rounds.
The important rule is to preserve the correct total stitch count while shifting where some increases occur.
This can reduce the polygon-like appearance and create a visually smoother circle.
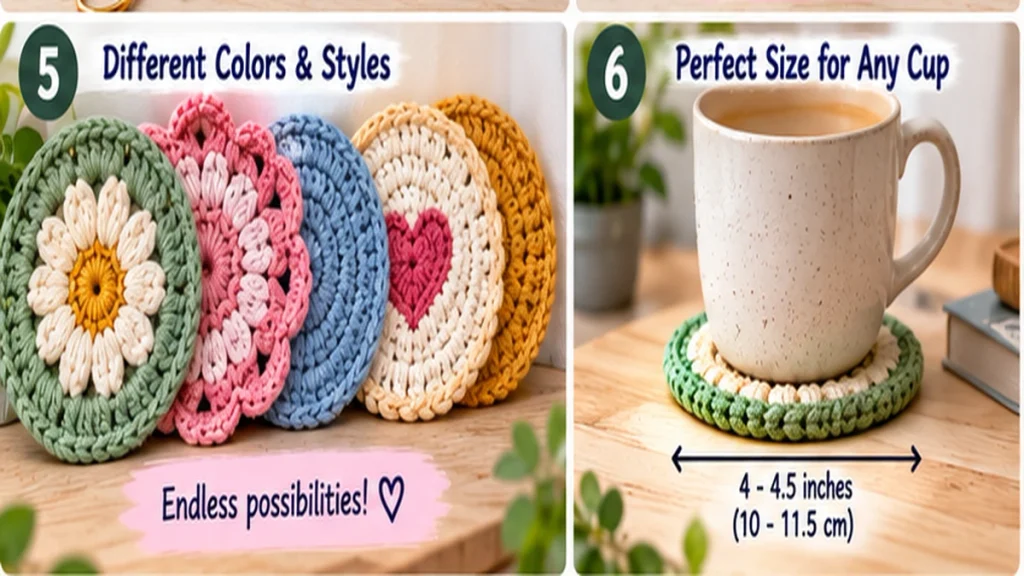
How to Change Colors
A crochet coaster is an easy project for experimenting with color.
You could make:
Round 1: Cream
Round 2: Sage
Round 3: Cream
Round 4: Sage
Or use a different color for every round.
To change color neatly, introduce the new yarn while completing the final stitch before the color change.
Then continue the next round with the new color.
Weave the yarn tails in securely when finished.
Two-Color Crochet Coaster
For a simple two-color design:
Rounds 1–3: Main color
Round 4: Contrasting color
Border: Same contrasting color
For example:
- Cream + Sage
- White + Blue
- Beige + Terracotta
- Pink + Cream
- Lavender + White
- Mustard + Cream
A contrasting final round can make a very simple pattern look more polished.
Easy Scalloped Edge Variation
Once you’re comfortable with the basic pattern, you can experiment with a decorative border.
One simple option is a small scalloped edge.
A typical decorative sequence might alternate slip stitches with groups of taller stitches to create curved shells around the perimeter.
Because stitch counts and shell spacing need to match, test the border on your specific coaster before committing to the entire round.
For your first coaster, the simple single crochet border is the easiest option.
Crochet Coaster Size Guide
There is no single mandatory coaster size.
Here is a practical starting guide:
| Size | Approx. Diameter | Possible Use |
|---|---|---|
| Small | 3.5 in / 9 cm | Small cups |
| Standard | 4 in / 10 cm | Mugs and glasses |
| Large | 4.5–5 in / 11.5–12.5 cm | Larger mugs |
| XL | 6+ in / 15+ cm | Mug mat / small table mat |
The best size depends on the drinkware you plan to use.
How to Make a Set of Matching Coasters
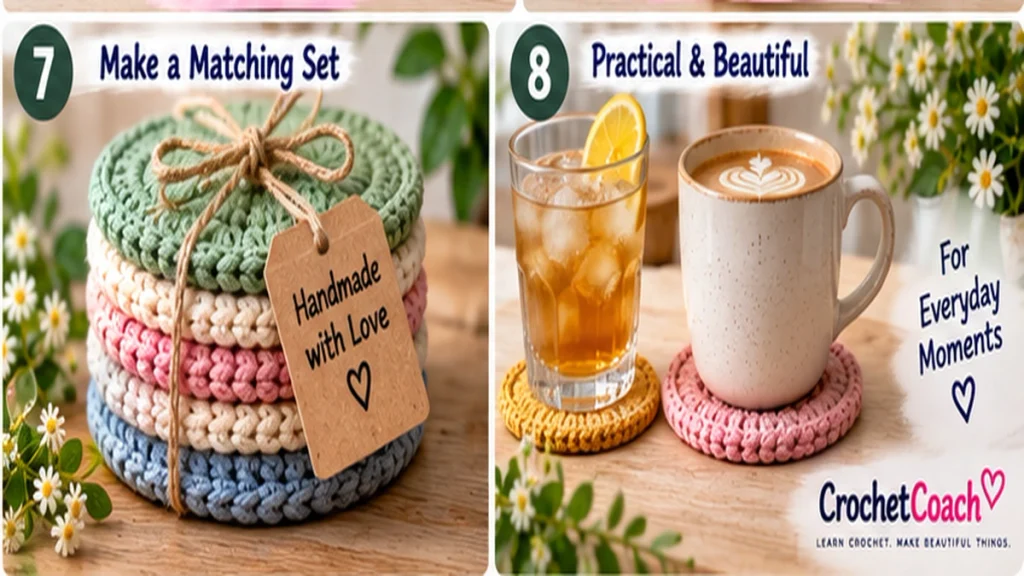
One coaster is useful, but this pattern is ideal for making a complete set.
Try making:
- Set of 4
- Set of 6
- Set of 8
Use the same yarn, hook, and number of rounds for every coaster.
This helps keep the finished pieces consistent.
You can make every coaster the same color or create a coordinated palette.
For example:
Cream + Sage + Dusty Pink + Mustard
A handmade coaster set can also make a simple crochet gift.
How to Block Crochet Coasters
Blocking can help improve the shape of a finished coaster, especially if the edge is slightly uneven.
Always choose a blocking method appropriate for your yarn fiber and follow the yarn manufacturer’s care instructions.
For suitable fibers, gently shape the coaster into a circle and allow it to dry completely in the desired shape.
Blocking can improve minor irregularities.
However, it cannot reliably correct a circle with a major stitch-count problem.
If your coaster has severe ruffles or curling, check your increases first.
Common Crochet Coaster Problems
My Coaster Is Curling Up
Check your stitch count first.
If stitches are missing, the outer edge may not have enough circumference.
Also check whether your tension is unusually tight.
My Coaster Has Ruffles
You may have too many stitches or increases.
Count the round carefully and make sure you haven’t accidentally worked extra stitches.
My Circle Looks Like a Hexagon
Your increases may be stacking in the same positions.
Staggering some increase placements while maintaining the correct total stitch count can help create a rounder appearance.
The Center Hole Is Too Large
If you’re using a magic ring, pull the yarn tail more firmly before weaving it in securely.
My Coaster Is Too Small
Add another increase round or use a thicker yarn.
My Coaster Is Too Large
Stop one round earlier or use thinner yarn and an appropriate hook.
My Edge Looks Uneven
Check your final stitch count and make sure your joining slip stitch is positioned correctly.
A simple finishing round of single crochet may also create a cleaner edge.
Crochet Coaster Variations
Once you understand the basic circle, you can create many variations.
Try:
- Solid-color coaster
- Striped coaster
- Two-color coaster
- Pastel coaster
- Rainbow coaster
- Scalloped-edge coaster
- Flower-inspired coaster
- Minimal neutral coaster
- Holiday coaster
- Matching coaster set
You can use the same basic construction while changing only the colors and border.
Beginner Tips for Better Crochet Coasters
Count Every Round
Small projects make stitch-count errors surprisingly noticeable.
Check the count before moving to the next round.
Use a Stitch Marker
Even when working joined rounds, a marker can help you identify the beginning of the round.
Choose Smooth Yarn
Smooth yarn makes individual stitches easier to identify while learning.
Don’t Crochet Too Tightly
Very tight tension can make the coaster curl and make it difficult to insert your hook.
Measure Your Work
Don’t assume a certain number of rounds will always produce the same diameter.
Different yarn and hook combinations create different sizes.
Make More Than One
Crochet coasters are excellent practice projects.
By the fourth coaster, your tension and stitch consistency may already feel noticeably more comfortable.
What Can You Learn From This Pattern?
Although a coaster is a small project, it teaches several important crochet skills:
- Magic ring
- Double crochet
- Working in rounds
- Increasing
- Counting stitches
- Joining rounds
- Creating flat circles
- Adding borders
- Changing colors
- Weaving in ends
These same techniques appear in many larger crochet projects.
Once you understand how a flat circle grows, you’ll be better prepared for projects such as bags, placemats, baskets, hats, and some amigurumi constructions.
Frequently Asked Questions
Are crochet coasters easy for beginners?
Yes. A basic round coaster is a good beginner project because it is small, repetitive, and uses fundamental crochet techniques.
What yarn is best for crochet coasters?
Cotton is a practical choice because it is absorbent and provides clear stitch definition. Always check the care and heat recommendations for the specific yarn you’re using.
What size should a crochet coaster be?
Around 4–4.5 inches (10–11.5 cm) in diameter works well for many everyday mugs and glasses, but there is no required size.
How much yarn does one crochet coaster use?
The amount varies with yarn weight, hook size, stitch pattern, and coaster size. In general, small coasters use relatively little yarn and are useful projects for leftover yarn.
Why won’t my crochet coaster lie flat?
The most common causes are an incorrect number of increases, missed or extra stitches, or a hook-and-tension combination that doesn’t suit the standard increase formula.
Can I make crochet coasters without a magic ring?
Yes. You can start with a small chain joined into a ring and work your first round into that ring. The magic ring is simply useful because you can tighten the center opening.
Can I wash crochet coasters?
That depends on the yarn you use. Check the yarn label for washing and drying instructions before cleaning the finished coasters.
Can I use acrylic yarn for crochet coasters?
You can crochet decorative coasters with many fibers, but fiber properties differ. Cotton is often preferred for everyday drink coasters because of its absorbency and structure. Always follow the yarn manufacturer’s guidance regarding heat and care.
Final Thoughts
This crochet coaster pattern is a small project with plenty of opportunities to practice essential crochet skills.
The basic construction is easy to remember:
Magic Ring → Increase → Keep Increasing → Add a Border → Finish
Start with the simple version, focus on accurate stitch counts, and check that the circle stays flat as it grows.
Once you’ve mastered the basic coaster, experiment with different colors, decorative edges, sizes, and matching sets.
A few rounds of crochet can turn a small amount of yarn into something practical, decorative, and handmade.