
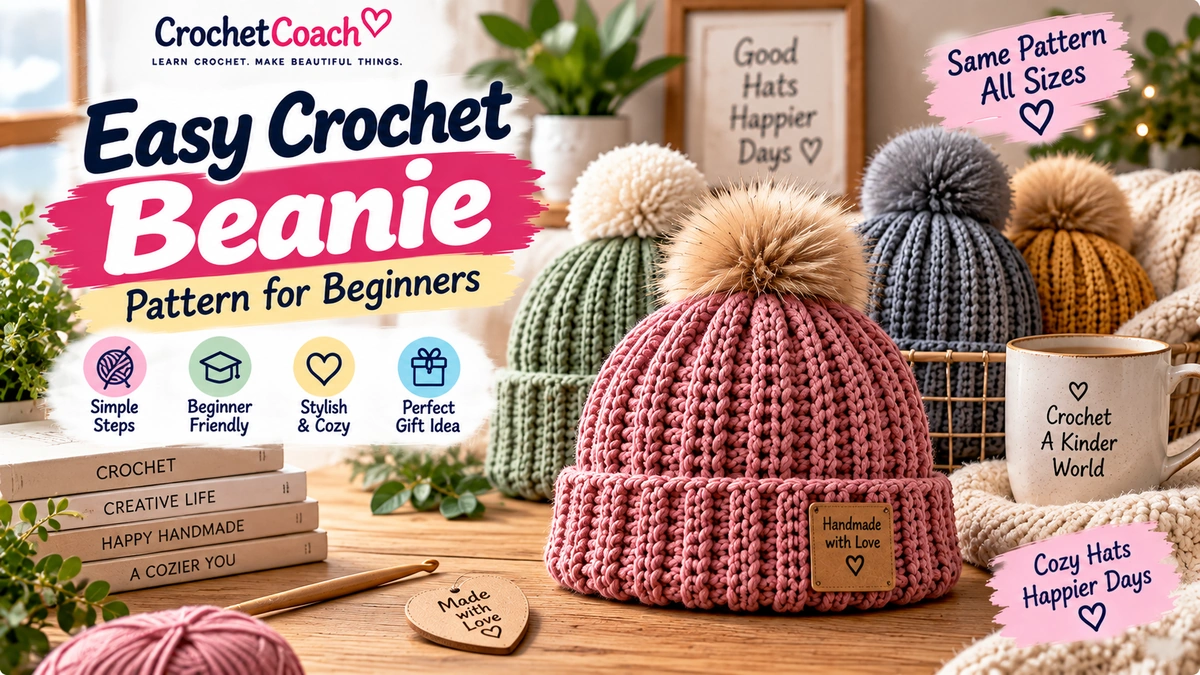
If you’re looking for a simple wearable project, this crochet beanie pattern is a great place to start. It uses basic stitches, straightforward construction, and an easy ribbed texture that looks stylish without requiring complicated shaping.
This beginner-friendly beanie is crocheted as a flat rectangle. Once the rectangle reaches the correct size, you join the sides, gather the top, and turn it into a comfortable hat.
In this guide, you’ll learn how to crochet an easy beanie step by step, measure for the right fit, adjust the pattern for different sizes, create a stretchy ribbed texture, and avoid common sizing mistakes.
Crochet Beanie Pattern at a Glance
| Detail | Pattern Information |
|---|---|
| Skill Level | Beginner |
| Crochet Terms | US |
| Construction | Flat rectangle |
| Main Stitch | Half Double Crochet |
| Texture | Back Loop Only Ribbing |
| Sample Size | Adult Medium |
| Yarn | Medium #4 yarn |
| Hook | 5.5 mm (I-9) |
| Finished Circumference | Approx. 20–21 in / 51–53 cm |
| Finished Height | Approx. 9 in / 23 cm |
| Optional | Pom-pom |
Finished measurements are approximate. Your yarn, hook, gauge, and tension can change the final size.
Materials You’ll Need
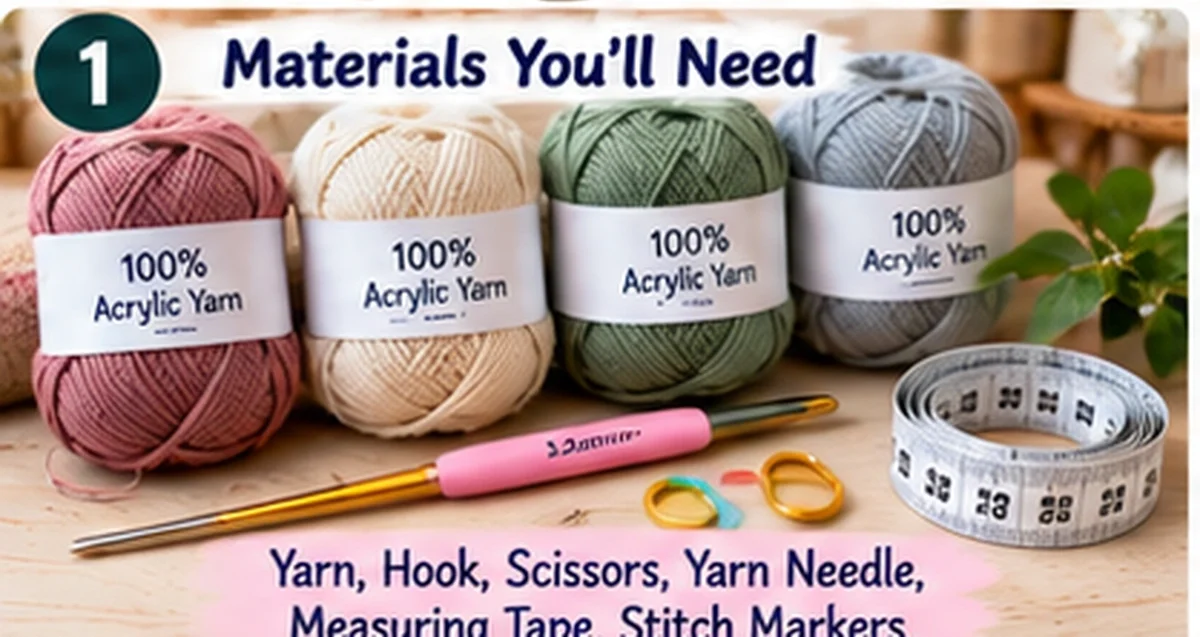
For this easy crochet beanie, you’ll need:
- Medium #4 yarn
- 5.5 mm crochet hook
- Scissors
- Yarn needle
- Measuring tape
- Stitch markers, optional
- Pom-pom, optional
Choose a yarn that feels comfortable against the skin and suits the climate where the hat will be worn.
Always check the yarn label for recommended hook sizes and care instructions.
Crochet Abbreviations
This pattern uses US crochet terminology.
| Abbreviation | Meaning |
|---|---|
| ch | Chain |
| hdc | Half Double Crochet |
| BLO | Back Loop Only |
| sl st | Slip Stitch |
| st/sts | Stitch/Stitches |
The Craft Yarn Council provides standardized crochet abbreviations and terminology.
How This Crochet Beanie Is Constructed
Many crochet hats are worked in the round, but this beginner version uses an easier construction.
You’ll make:
One ribbed rectangle → Join the short sides → Gather one opening → Fold the brim
That means you don’t need to learn complicated crown decreases before making your first beanie.
The length of the rectangle determines the circumference of the hat.
The width of the rectangle determines the height.
Gauge
Before beginning a fitted wearable, making a small gauge swatch is useful.
For this pattern, aim approximately for:
13–14 hdc BLO × 10 rows = 4 × 4 inches / 10 × 10 cm
Gauge is only a target for this draft pattern. If your swatch differs significantly, adjust your hook size or use measurements rather than relying entirely on the stated stitch and row counts.
For a hat, even a small gauge difference can noticeably affect the final fit.
Adult Medium Crochet Beanie Pattern
The sample beanie is designed to finish at approximately:
20–21 inches / 51–53 cm circumference
and approximately:
9 inches / 23 cm tall
The ribbed fabric should have some stretch.
Step 1: Make the Foundation Chain
Start with a slip knot.
Chain 32.
The chain determines the height of the beanie.
Before continuing, loosely measure the chain.
Remember that the finished crochet fabric may measure differently from the raw foundation chain.
Step 2: Crochet the First Row
Work:
Hdc in the second chain from the hook and in each chain across.
You should have:
31 hdc
Turn your work.
Step 3: Start the Ribbed Texture
Chain 1.
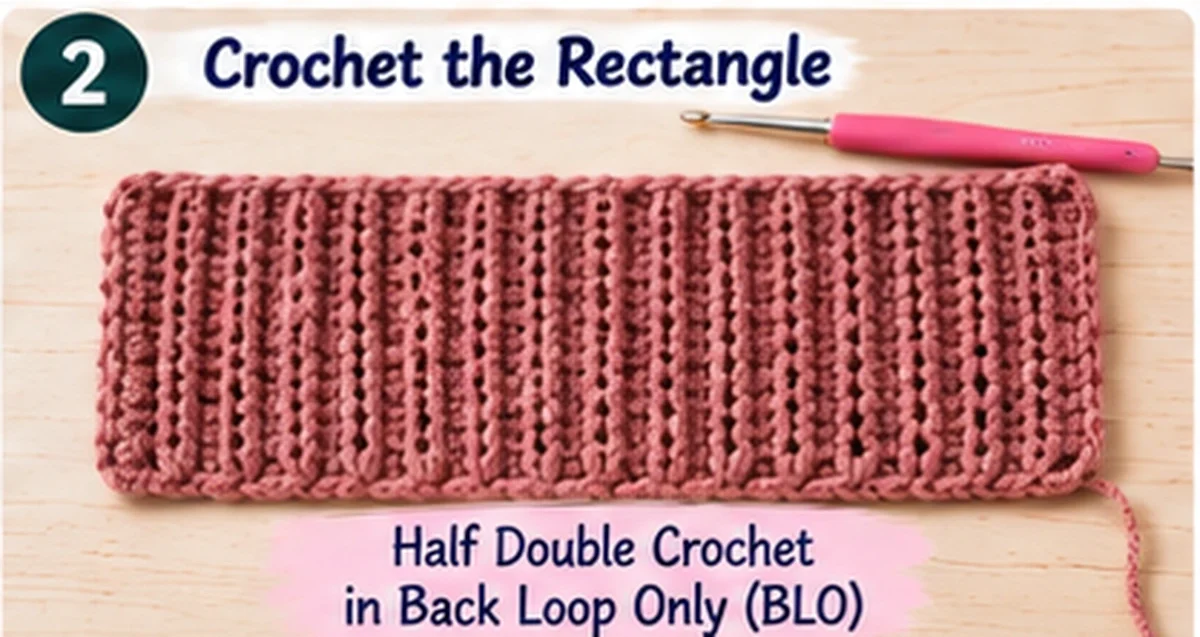
Work 1 hdc BLO in each stitch across.
You should still have:
31 stitches
Turn.
What Does BLO Mean?
BLO means Back Loop Only.
When you look at the top of a crochet stitch, you’ll see two loops.
Instead of inserting your hook under both loops, insert it through only the loop farther away from you.
Working repeatedly into the back loop creates raised horizontal ridges.
When the rectangle is rotated for assembly, those ridges create the vertical ribbed appearance associated with many beanies.
Step 4: Continue the Rectangle
Repeat:
Ch 1, hdc BLO across, turn.
Keep every row at:
31 stitches
Continue until the long edge of your rectangle measures approximately:
20–21 inches / 51–53 cm
Do not rely only on a specific row count.
Measure your actual crochet fabric.
The rectangle should look something like this:
Approx. 9 inches high × 20–21 inches long
Your exact measurements may vary slightly depending on your desired fit.
Step 5: Check the Fit Before Joining
This step is important.
Wrap the long edge of the rectangle gently around the intended wearer’s head.
The fabric should fit comfortably with some stretch.
It should not feel painfully tight.
It also shouldn’t hang loosely around the head.
If the rectangle is too short, add more rows.
If it is too long, remove a few rows.
Checking the fit now is much easier than reopening the finished hat later.
Step 6: Join the Beanie
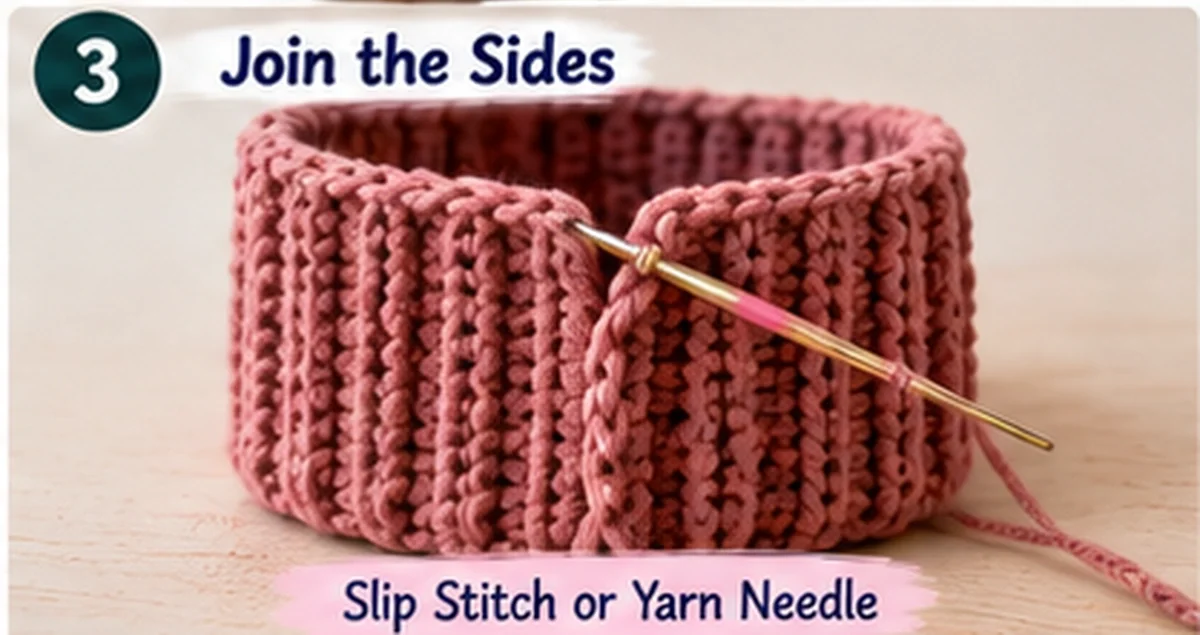
Fold the rectangle so the two short edges meet.
Make sure the ribbing runs vertically around the future hat.
You can join the edges using slip stitches, single crochet, or a yarn needle.
For a simple crochet join, insert your hook through corresponding stitches along both edges and slip stitch them together.
Continue until the entire side seam is closed.
Fasten off if necessary, leaving enough yarn for finishing.
You should now have a crochet tube.
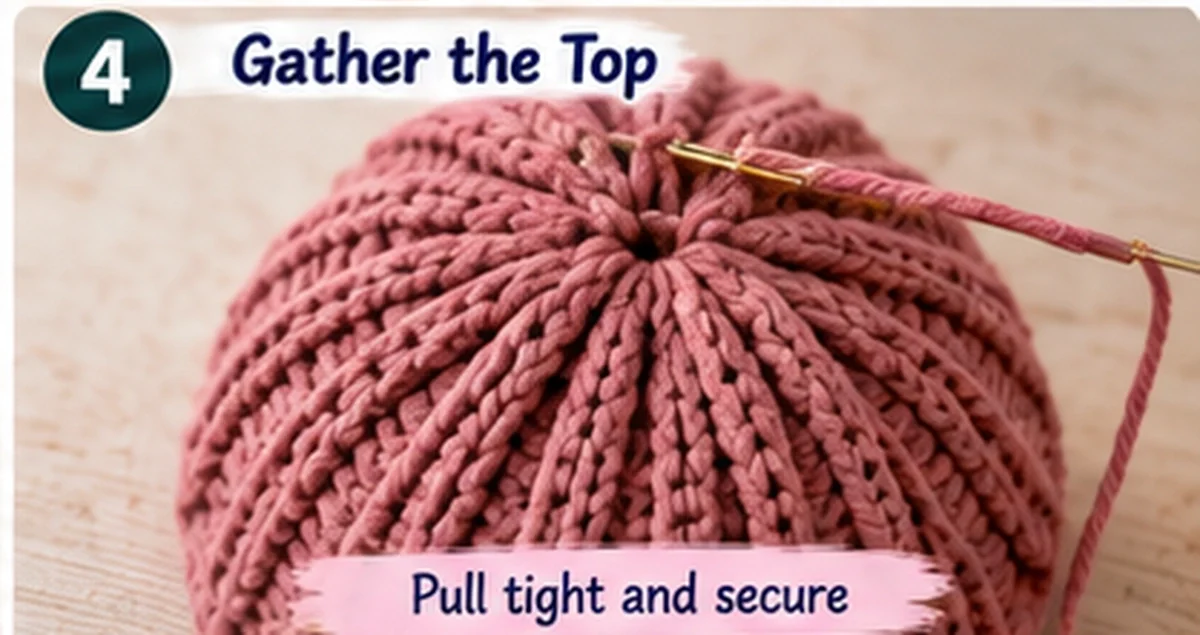
Step 7: Gather the Top
Cut a long piece of matching yarn if your existing yarn tail isn’t long enough.
Thread it onto a yarn needle.
Weave the needle in and out around one open edge of the tube.
Continue around the entire opening.
Once you’ve reached your starting point, pull the yarn gradually.
The opening should begin closing like a drawstring.
Pull firmly but carefully until the top is gathered.
Pass the yarn through the gathered fabric several times to secure it.
Tie off securely and weave in the tail.
Small gathers at the crown are normal with this beginner rectangle construction.
Step 8: Turn the Beanie Right Side Out
Turn the hat so your preferred side faces outward.
Gently shape the crown with your fingers.
The gathered section should sit at the top of the head while the ribbing runs vertically down the hat.
Your basic crochet beanie is now complete.
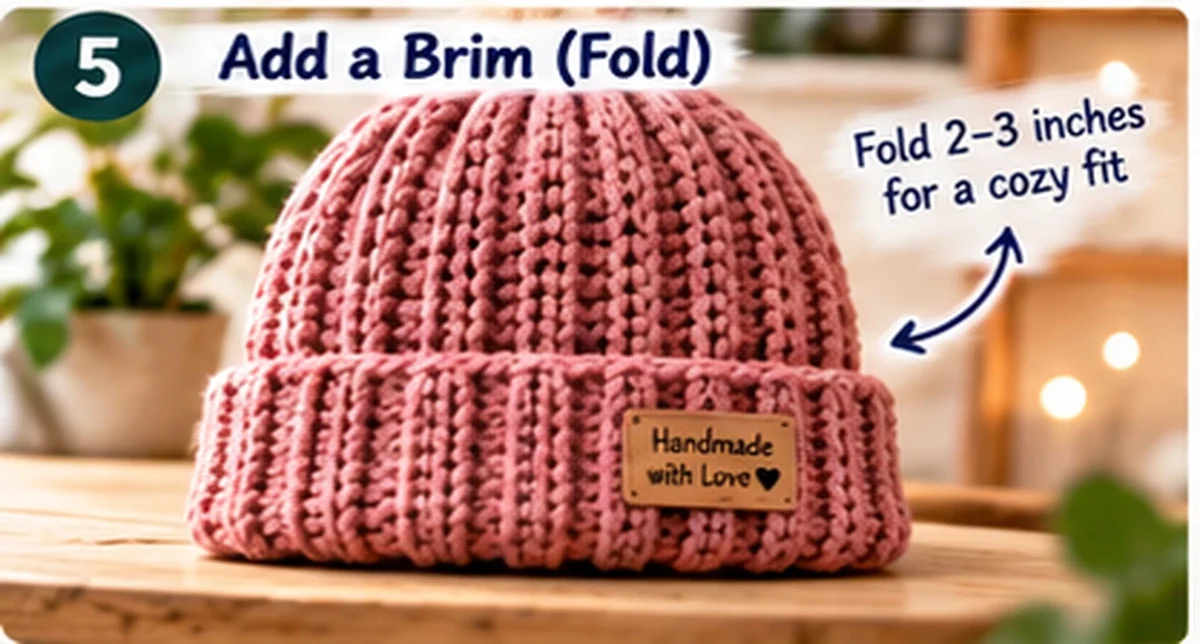
Step 9: Create a Folded Brim
Fold the lower edge upward approximately:
2–3 inches / 5–7.5 cm
Adjust the fold until it feels comfortable.
A deeper fold creates a more substantial cuff.
A smaller fold leaves more height in the crown.
You can also wear the beanie without folding the edge if you prefer a different style.
Optional: Add a Pom-Pom
A pom-pom can be attached to the gathered crown.
You can use:
- Handmade yarn pom-pom
- Removable pom-pom
- Faux-fur pom-pom
Attach it securely through the center of the crown.
If the beanie will be washed frequently, a removable pom-pom can make care easier.
Crochet Beanie Size Chart
Head measurements vary considerably, so a size chart should be treated as a starting point rather than a substitute for measuring the wearer.
| Size | Approx. Head Circumference | Suggested Hat Circumference* | Approx. Hat Height |
|---|---|---|---|
| Baby | 14–16 in | 13–15 in | 5.5–6.5 in |
| Toddler | 18–20 in | 17–18.5 in | 6.5–7.5 in |
| Child | 20–21 in | 18.5–20 in | 7–8 in |
| Teen | 21–22 in | 19.5–21 in | 8–9 in |
| Adult | 22–23 in | 20–22 in | 8.5–9.5 in |
| Large Adult | 23–24+ in | 21–23+ in | 9–10+ in |
*Suggested hat circumference depends heavily on how stretchy your fabric is.
The Craft Yarn Council also publishes general headwear sizing guidance that can be useful when planning crochet hats.
What Is Negative Ease?
A stretchy crochet beanie is often made slightly smaller than the wearer’s actual head circumference.
This difference is called negative ease.
For example:
If the head measures:
22 inches
a stretchy beanie might finish around:
20–21 inches
The fabric stretches to fit the head.
However, there is no universal negative-ease percentage for every crochet hat.
Different yarns and stitch patterns stretch differently.
That’s why physically checking the stretch of your fabric is more reliable than blindly subtracting the same number for every project.
How to Measure Your Head for a Crochet Beanie
Use a flexible measuring tape.
Wrap it around the widest part of the head:
Across the forehead → Above the ears → Around the back of the head
Keep the measuring tape level.
Don’t pull it excessively tight.
Record the circumference.
For the height, measure from the crown of the head toward where you want the lower edge of the hat to sit.
If you want a folded brim, remember that the fabric needs enough height to create the fold.
How to Customize the Beanie Size
One major advantage of rectangle construction is that resizing is simple.
To Change the Hat Height
Change the foundation chain.
More chains = taller rectangle
Fewer chains = shorter rectangle
To Change the Circumference
Change the number of rows.
More rows = larger circumference
Fewer rows = smaller circumference
This makes the pattern much easier to customize than trying to create a separate fixed stitch count for every possible head size.
How to Make a Slouchy Crochet Beanie
Want more room at the top?
Increase the width of your rectangle by adding more chains at the beginning.
Instead of approximately 9 inches high, you could make the rectangle around:
10–11 inches high
depending on the desired amount of slouch.
Keep the circumference appropriate for the wearer’s head.
The extra height creates the relaxed fabric at the crown.
How to Make a Fitted Beanie
For a more fitted look:
- Reduce the overall height
- Keep the circumference snug
- Use a yarn with good recovery
- Avoid excessive extra fabric at the crown
Try the rectangle around the wearer’s head before joining whenever possible.
How to Make a Striped Crochet Beanie
This pattern is easy to customize with stripes.
You can change colors every:
- 2 rows
- 4 rows
- 6 rows
- 10 rows
Try combinations such as:
Cream + Sage
Beige + Brown
Pink + Cream
Navy + White
Mustard + Charcoal
Because each row eventually runs vertically on the finished hat, changing colors by rows can create vertical stripe effects after assembly.
Two-Tone Crochet Beanie
For a simple two-color version, crochet approximately half of the rectangle in Color A and the other half in Color B.
You can also make:
- Contrasting brim
- Contrasting pom-pom
- Alternating narrow stripes
- Color-block design
The construction remains exactly the same.
How Much Yarn Do You Need?
Yarn usage varies depending on:
- Hat size
- Yarn weight
- Hook size
- Gauge
- Stitch pattern
- Brim depth
- Pom-pom
For a basic adult beanie in medium #4 yarn, approximately 150–250 yards is a practical planning range for many simple designs.
Always buy a little extra yarn when exact yardage matters, especially when using a specific dye lot.
Best Yarn for a Crochet Beanie
There is no single perfect yarn for every hat.
Consider:
Softness
The yarn sits directly against the forehead and ears.
Stretch and Recovery
The fabric should stretch comfortably without permanently losing its shape too quickly.
Warmth
Choose fiber and yarn thickness based on climate.
Care
Machine-washable yarn may be convenient for everyday hats.
Stitch Definition
A smooth yarn can make ribbing easier to see.
Medium #4 yarn is convenient for beginner projects because it is widely available and relatively easy to handle.
Common Crochet Beanie Problems
My Beanie Is Too Tight
The rectangle may be too short around the circumference, or your fabric may not stretch enough.
Add more rows before joining.
If the hat is already finished, you may need to reopen the seam and extend the rectangle.
My Beanie Is Too Loose
Your rectangle may be too long.
Remove rows before joining.
Also consider whether the yarn stretches significantly after wear.
My Beanie Is Too Tall
Your foundation chain created too much height.
Use fewer chains next time or create a deeper folded brim if the design allows it.
My Beanie Is Too Short
Increase the starting chain.
Remember to include enough fabric for the folded brim if you want one.
The Crown Has a Large Hole
The gathered opening may not have been pulled tightly enough.
Thread your yarn needle through the crown again and carefully close the remaining opening.
The Crown Looks Bulky
Rectangle beanies naturally create some gathering at the crown.
Very thick yarn or excessive hat width can make those gathers more noticeable.
For a more sculpted crown, a beanie worked in rounds with gradual decreases may be preferable.
My Ribbing Doesn’t Look Right
Make sure you’re consistently working into the back loop only.
If you accidentally crochet through both loops, the ribbed texture will change.
My Rectangle Gets Wider or Narrower
You’re probably accidentally adding or losing stitches.
Count your stitches regularly.
Every row in this sample should remain at:
31 stitches
Tips for a Better Beginner Beanie
Make a Gauge Swatch
This is especially important for wearable projects.
Measure Instead of Guessing
Actual measurements are more useful than copying another person’s row count when your gauge is different.
Count Your Stitches
Keeping the rectangle straight makes assembly much easier.
Don’t Make the Starting Chain Too Tight
A very tight foundation edge may reduce the stretch on one side of the finished hat.
Check the Fit Before Seaming
This is your easiest opportunity to make adjustments.
Secure the Crown Carefully
The gathered top experiences tension when the hat stretches over the head.
Make sure it is firmly secured.
Crochet Beanie Variations
Once you understand the basic construction, you can make many different versions:
- Classic ribbed beanie
- Slouchy beanie
- Pom-pom beanie
- Striped beanie
- Two-tone beanie
- Color-block beanie
- Neutral winter beanie
- Pastel beanie
- Kids’ beanie
- Matching family beanies
One simple rectangle can become many different designs.
Frequently Asked Questions
Is this crochet beanie pattern suitable for beginners?
Yes. The rectangle construction eliminates complicated crown shaping and primarily uses half double crochet worked through the back loop.
What crochet stitch is good for a beginner beanie?
Half double crochet is a practical beginner stitch. Working it in the back loop creates a stretchy ribbed texture that works well for this style of hat.
How do I know how big to make a crochet beanie?
Measure the intended wearer’s head circumference and consider how much the finished crochet fabric stretches. For this rectangle pattern, crochet until the long edge produces a comfortable fit before joining.
How long should an adult crochet beanie be?
It depends on the head size, desired fit, and whether you’re adding a folded brim. Around 8.5–9.5 inches is a useful starting range for many adult beanies, but measuring the wearer is better.
Why should a beanie be smaller than the head?
Stretchy hats often use negative ease so the fabric stretches around the head and stays in place. The appropriate amount depends on the stretch of your specific crochet fabric.
Can I use acrylic yarn for a crochet beanie?
Yes. Many acrylic yarns are commonly used for hats. Choose one that feels comfortable against the skin and check its care instructions.
Can I use cotton yarn?
You can, but cotton behaves differently from many wool or acrylic yarns and may have less elastic recovery. Always test the fabric before deciding how much negative ease to use.
Can I make this pattern without a pom-pom?
Absolutely. The pom-pom is entirely optional.
Final Thoughts
This crochet beanie pattern turns a simple rectangle into a practical wearable project.
The construction is easy to remember:
Chain → Crochet a ribbed rectangle → Check the fit → Join the edges → Gather the crown → Fold the brim
The most important part isn’t copying an exact number of rows. It’s learning how your yarn and tension behave and using actual measurements to create the fit you want.
Once you’ve made the basic version, experiment with stripes, different brim depths, colors, pom-poms, and extra height for a slouchier style.
A simple beginner rectangle can become a beanie that looks far more complicated than it actually is.