
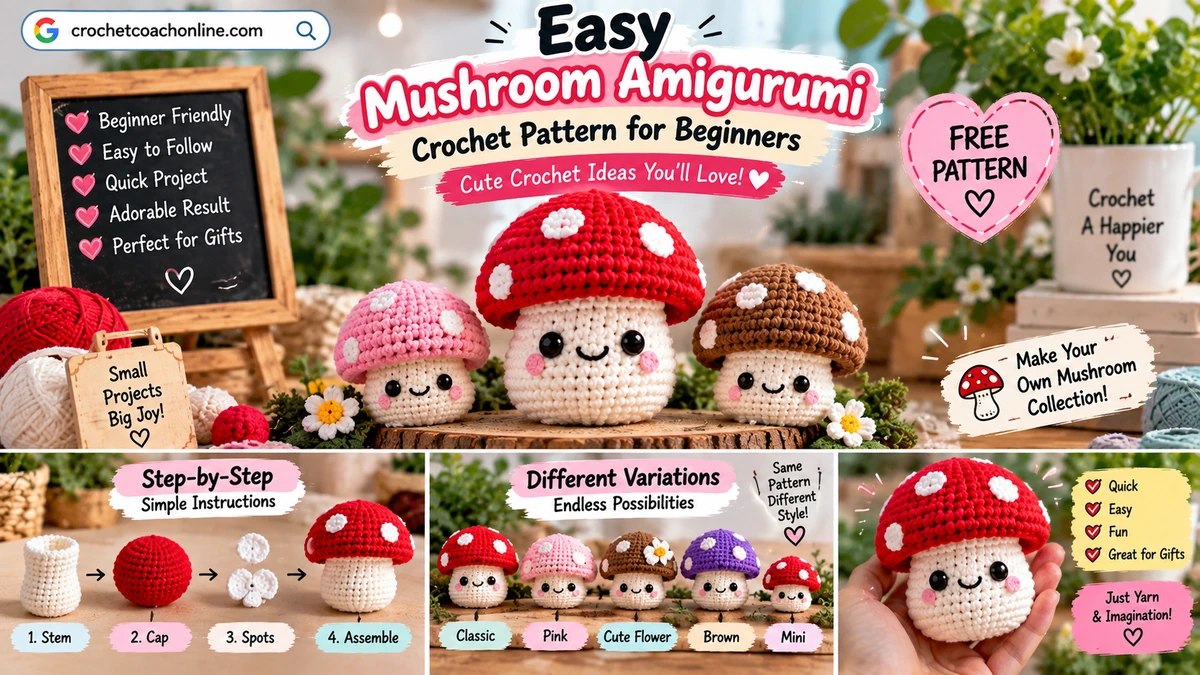
Looking for a small crochet project that is cute, quick and easy to customize?
This mushroom amigurumi pattern is designed for beginners and uses simple shapes, basic stitches and minimal assembly.
You’ll make a soft cream stem, a rounded mushroom cap, cute white spots and a simple smiling face.
Mushroom Amigurumi Pattern at a Glance
| Detail | Pattern Info |
|---|---|
| Skill Level | Beginner |
| Crochet Terms | US |
| Construction | Separate cap + stem |
| Main Stitch | Single Crochet |
| Yarn | Worsted / Medium Weight |
| Hook | 3.0–3.5 mm |
| Approx. Time | 1–2 hours |
| Main Colors | Red + Cream |
| Stuffing | Polyester fiberfill |
Current beginner mushroom patterns commonly use a magic ring, single crochet, increases, decreases and simple assembly, which makes this a natural project for someone new to amigurumi.
Materials
You’ll need:
- Red yarn
- Cream or white yarn
- Small amount of white yarn for spots
- Black embroidery thread
- Optional pink yarn for cheeks
- 3.0–3.5 mm crochet hook
- Fiberfill
- Yarn needle
- Scissors
- Stitch marker
- Pins
- Optional safety eyes
Smooth cotton or acrylic yarn is easier for beginners because the stitches remain visible.
Crochet Abbreviations
This pattern uses standard U.S. crochet terminology. The Craft Yarn Council also maintains the standard abbreviation list used across many crochet patterns.
| Abbreviation | Meaning |
|---|---|
| MR | Magic Ring |
| sc | Single Crochet |
| inc | Increase |
| dec | Decrease |
| sl st | Slip Stitch |
| ch | Chain |
| st | Stitch |
| sts | Stitches |
| FO | Fasten Off |
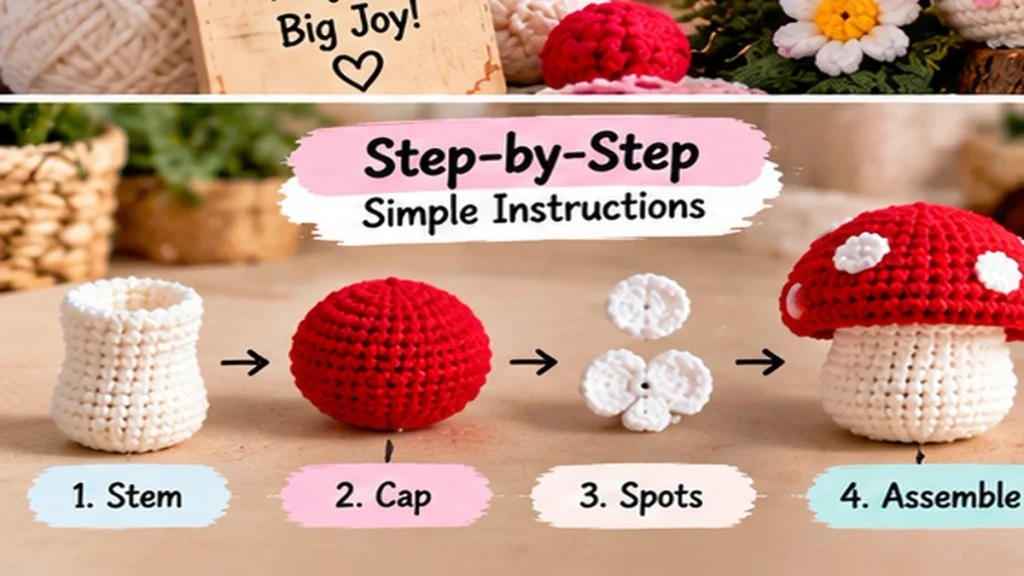
Step 1: Crochet the Mushroom Stem
Use cream yarn.
Round 1: 6 sc in MR (6)
Round 2: inc × 6 (12)
Round 3: (1 sc, inc) × 6 (18)
Rounds 4–7: sc around (18)
Round 8: (1 sc, dec) × 6 (12)
Start stuffing lightly.
Rounds 9–10: sc around (12)
Add more stuffing.
FO, leaving a long tail.
The stem should stand upright without becoming too stiff.
Step 2: Crochet the Mushroom Cap
Switch to red yarn.
Round 1: 6 sc in MR (6)
Round 2: inc × 6 (12)
Round 3: (1 sc, inc) × 6 (18)
Round 4: (2 sc, inc) × 6 (24)
Round 5: (3 sc, inc) × 6 (30)
Rounds 6–7: sc around (30)
Round 8: (3 sc, dec) × 6 (24)
Round 9: (2 sc, dec) × 6 (18)
FO, leaving a long tail.
This creates the rounded dome shape that makes the mushroom instantly recognizable.
Step 3: Add the White Spots
You can make the cap spots in two different ways.
Option 1: Embroidered Spots
Use white yarn and stitch several small round dots directly onto the cap.
This is the easiest option for beginners.
Option 2: Tiny Crochet Spots
Make several tiny circles:
Round 1: 6 sc in MR (6)
FO.
Sew them onto the cap.
Use different placements and spacing so the spots look more natural.
Step 4: Add the Face
Place the eyes on the front of the cream stem.
You can use:
- Safety eyes
- Embroidered black eyes
- Closed sleepy eyes
Then embroider a small curved mouth.
Optional pink cheeks make the mushroom look more kawaii.
For items intended for very young children, embroidered features are preferable to detachable plastic pieces.
Step 5: Assemble the Mushroom
Pin the cap to the stem before sewing.
Check that:
- The cap sits centered
- The stem remains upright
- The face points forward
- The mushroom can stand or sit properly
Add a little extra stuffing under the cap if necessary.
Then sew securely around the edge where the cap meets the stem.
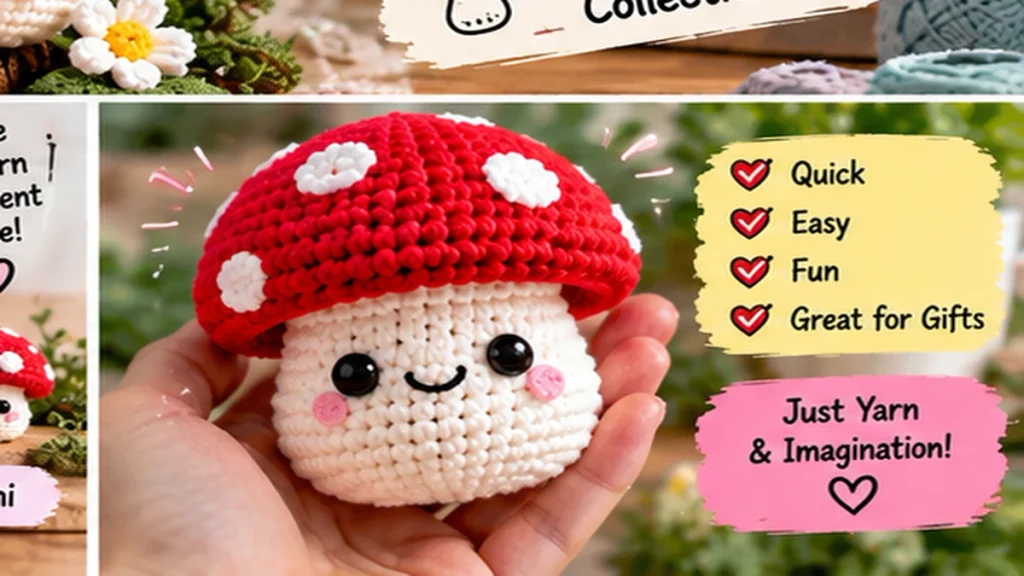
Finished Mushroom Amigurumi
Your finished mushroom should have:
✓ Rounded cap
✓ Soft cream stem
✓ White spots
✓ Cute face
✓ Stable shape
The classic mushroom silhouette is particularly popular in beginner patterns because it can be built from just a few simple shapes.
6 Cute Mushroom Variations
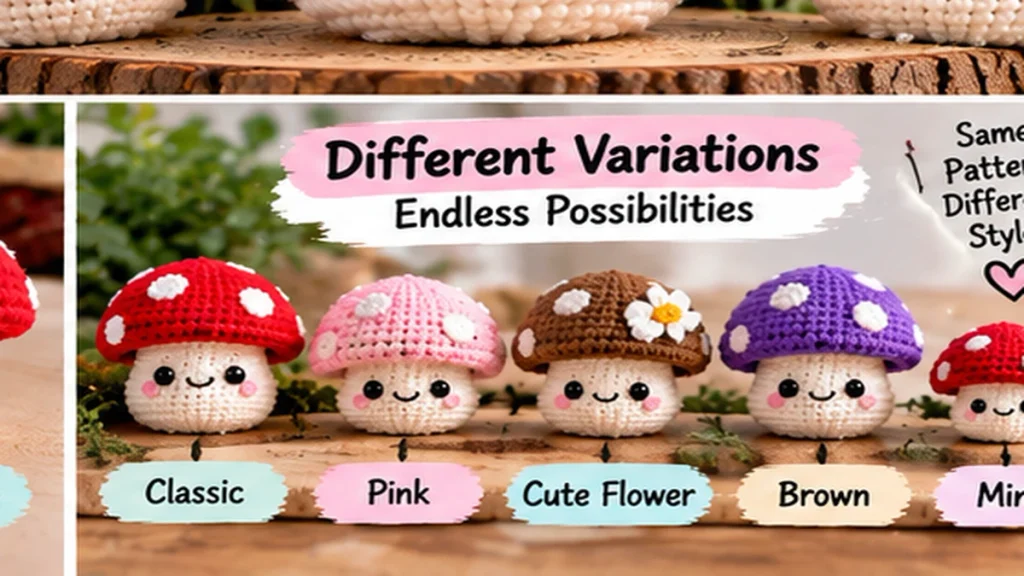
1. Classic Red Mushroom
Red cap, white spots and cream stem.
2. Pink Mushroom
Pastel pink cap with white spots.
3. Cottagecore Mushroom
Use earthy brown, beige and muted green yarn.
4. Mini Mushroom
Use thinner yarn and a smaller hook.
Mini versions are currently common in beginner-focused mushroom patterns and are often used for bag charms or small gifts.
5. Plush Mushroom
Use chenille yarn for a squishy finish.
6. Mushroom With a Flower
Add a tiny crochet flower near the cap.
How to Make a Bigger Mushroom
The easiest way is to use thicker yarn with the hook size recommended for that yarn.
This lets you keep the same basic construction while increasing the finished size.
You’ll also need more fiberfill.
Common Mushroom Amigurumi Mistakes
Cap looks flat: Your tension may be too tight, or you may have missed an increase.
Stem falls over: Add a little more stuffing near the bottom.
Cap sits crooked: Pin before sewing.
White spots look uneven: Vary their size and placement intentionally.
Stuffing is visible: Use a slightly smaller hook or tighten your tension.
Mushroom leans: Check the bottom of the stem before final assembly.
Mushroom Amigurumi FAQ
Is mushroom amigurumi good for beginners?
Yes. Many current mushroom patterns are explicitly designed for beginners because they mainly use single crochet, magic rings, increases and decreases.
How long does a crochet mushroom take?
A small beginner mushroom can often be completed in around 1–2 hours. Some mini patterns are designed to work up even faster.
What yarn should I use?
Cotton or acrylic is easiest for learning. Chenille works well if you want a plushier mushroom.
Can I make it without safety eyes?
Yes. Embroidered eyes work perfectly.
Can I use different colors?
Absolutely. Pink, lavender, brown, orange and pastel combinations all work well.
Can I turn it into a keychain?
Yes. Make the mushroom with thinner yarn and securely attach a keychain loop to the top of the cap.
More Amigurumi Patterns
Easy Capybara Amigurumi Crochet Pattern for Beginners
Cute Axolotl Amigurumi Crochet Pattern for Beginners
Easy Frog Amigurumi Crochet Pattern for Beginners
Easy Mushroom Amigurumi Crochet Pattern
Final Thoughts
This mushroom amigurumi pattern is a simple project for practicing the core skills used in many crochet toys.
Once you make the classic red-and-white version, try changing the yarn colors, adding embroidered details or creating a whole tiny mushroom collection.