
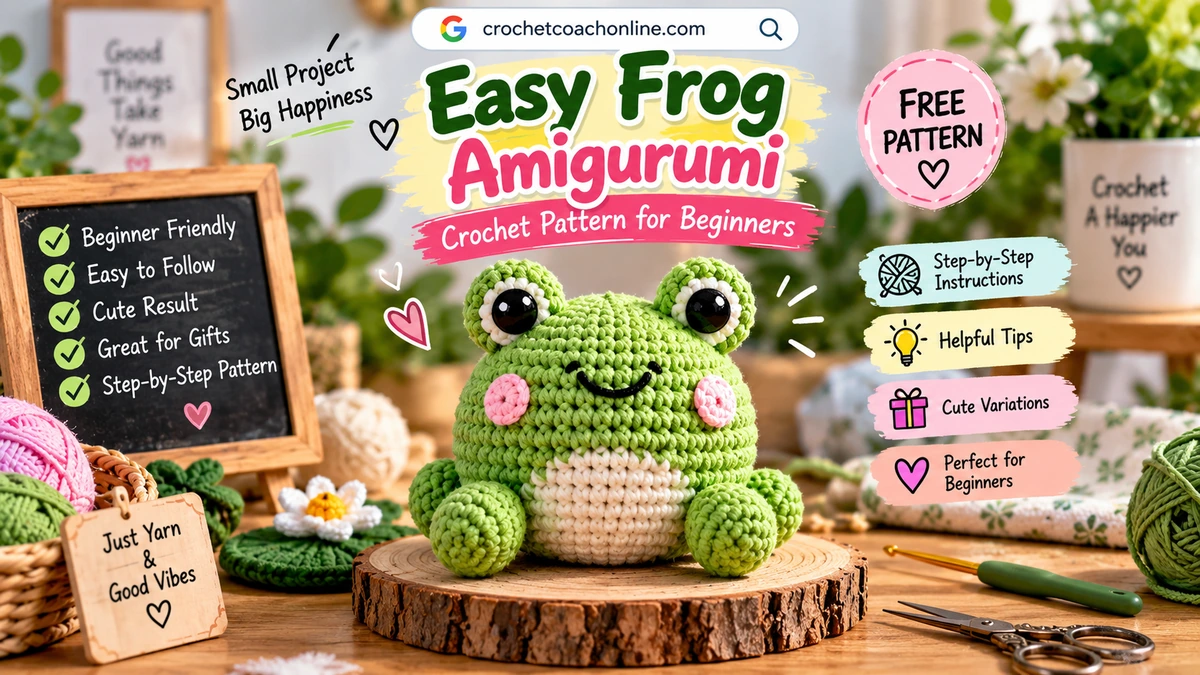
Looking for a cute crochet project that doesn’t require advanced stitches?
This frog amigurumi pattern is designed to be simple, adorable and beginner-friendly. You’ll crochet a plump green body, two big frog eyes, four little legs and a tiny smiling face using mostly basic amigurumi techniques.
The result is a small handmade frog that’s perfect for a desk, shelf, gift or your growing amigurumi collection.
Frog Amigurumi Pattern at a Glance
| Detail | Pattern Info |
|---|---|
| Skill Level | Beginner / Advanced Beginner |
| Crochet Terms | US |
| Construction | Continuous rounds |
| Main Stitch | Single Crochet |
| Yarn | Worsted / Medium Weight |
| Hook | 3.0–3.5 mm |
| Approx. Time | 2–3 hours |
| Main Color | Green |
| Stuffing | Polyester fiberfill |
Current beginner frog patterns commonly use continuous rounds, magic rings, single crochet, increases and decreases, so these are exactly the core skills worth practicing here.
Materials
You’ll need:
- Green yarn
- Small amount of white yarn
- Black embroidery thread
- Optional pink yarn for cheeks
- 3.0–3.5 mm crochet hook
- Fiberfill
- Yarn needle
- Scissors
- Stitch marker
- Pins
- Optional safety eyes
For your first frog, smooth cotton or acrylic yarn makes the stitches easier to see than fluffy chenille.
Crochet Abbreviations
| Abbreviation | Meaning |
|---|---|
| MR | Magic Ring |
| sc | Single Crochet |
| inc | Increase |
| dec | Decrease |
| sl st | Slip Stitch |
| ch | Chain |
| st | Stitch |
| sts | Stitches |
| FO | Fasten Off |
Use standard U.S. crochet terminology throughout the pattern.
Before You Begin
Work in continuous spiral rounds unless stated otherwise.
Place a stitch marker in the first stitch of every round and move it upward as you work.
The number in parentheses is your stitch count at the end of the round.
For example:
(2 sc, inc) × 6 (24)
means repeat two single crochets followed by one increase six times, finishing with 24 stitches.
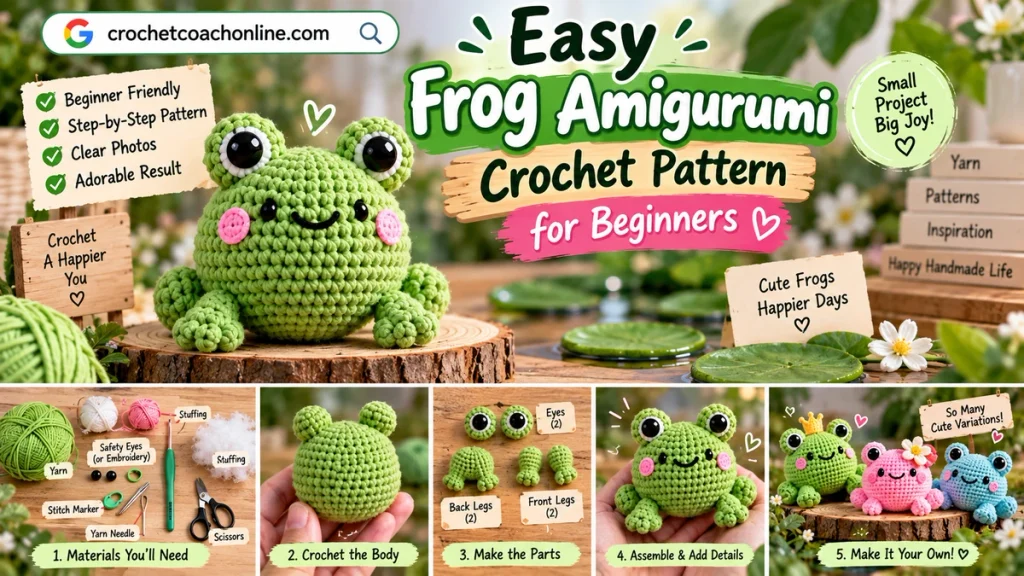
Step 1: Crochet the Frog Body
Use green yarn.
Round 1: 6 sc in MR (6)
Round 2: inc × 6 (12)
Round 3: (1 sc, inc) × 6 (18)
Round 4: (2 sc, inc) × 6 (24)
Round 5: (3 sc, inc) × 6 (30)
Rounds 6–11: sc around (30)
You should now have a rounded shape.
Shape the Bottom
Round 12: (3 sc, dec) × 6 (24)
Round 13: (2 sc, dec) × 6 (18)
Begin stuffing gradually.
Round 14: (1 sc, dec) × 6 (12)
Add enough stuffing to create a plump shape without stretching the stitches.
Round 15: dec × 6 (6)
FO and close the opening.
The stitch counts follow a clean 6 → 12 → 18 → 24 → 30 → 24 → 18 → 12 → 6 progression.
Step 2: Crochet the Frog Eyes — Make 2
One of the most recognizable features of a crochet frog is its raised eyes.
Use green yarn.
Round 1: 6 sc in MR (6)
Round 2: inc × 6 (12)
Rounds 3–4: sc around (12)
Add a tiny amount of stuffing.
FO, leaving a long tail for sewing.
Repeat for the second eye.
Add the Eye Details
You can either use black safety eyes or embroider the pupils.
If using white yarn, you can add a small white eye area before adding the black pupil.
Don’t attach the eyes permanently yet.
Pin both to the top of the body first and check the frog from the front.
The oversized raised-eye look is particularly common across current beginner frog patterns because it gives a simple rounded body an immediately recognizable frog appearance.
Step 3: Crochet the Back Legs — Make 2
Use green yarn.
Round 1: 6 sc in MR (6)
Round 2: inc × 6 (12)
Rounds 3–4: sc around (12)
Add a small amount of stuffing.
Flatten slightly.
FO with a long sewing tail.
The back legs should look a little larger and rounder than the front legs.
Step 4: Crochet the Front Legs — Make 2
Use green yarn.
Round 1: 6 sc in MR (6)
Rounds 2–4: sc around (6)
Don’t overstuff them.
FO with a long tail.
Now you should have:
1 body + 2 eyes + 2 back legs + 2 front legs.
Step 5: Assemble Your Frog
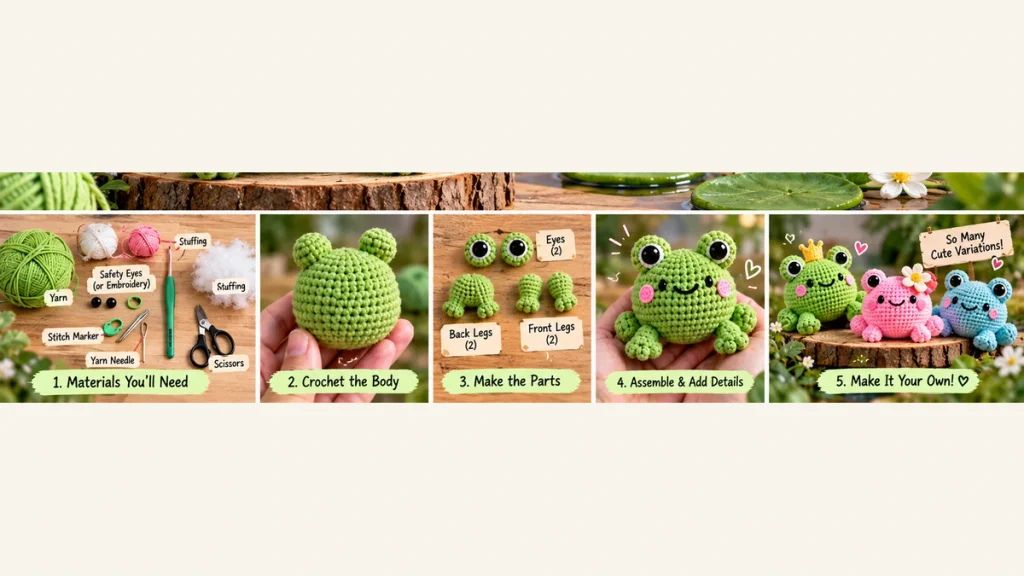
Don’t immediately sew every piece in place.
First, pin everything.
Place the two eyes on top of the body.
Position the back legs low on either side.
Place the smaller front legs toward the front.
Now put the frog on a flat surface.
Check whether:
- Both eyes are level
- The frog sits properly
- The legs look symmetrical
- The face has enough space
Once you’re happy with the positioning, sew each piece securely.
Step 6: Give Your Frog a Face
Use black embroidery thread to make a small mouth.
A simple curved smile works well.
You can also embroider two tiny pink cheeks.
Keep the expression simple—the large eyes already give the frog plenty of personality.
Safety Note
If the finished amigurumi is intended for a baby or very young child, embroidered facial features are preferable to detachable plastic components.
Your Finished Frog Amigurumi
Your frog should now have:
✓ Plump round body
✓ Two raised eyes
✓ Two little front legs
✓ Two larger back legs
✓ Simple smiling face
Don’t worry if yours looks slightly different from the example.
Tension, yarn choice and stuffing naturally change the final shape.
Make a Plush Frog
Once you’re comfortable with the pattern, try using chenille or plush yarn.
Chunky/chenille frog designs are prominent in current patterns and can create a much softer, squishier result.
Use an appropriately sized hook rather than blindly keeping the same 3.0–3.5 mm hook.
Thicker yarn will change the:
- Finished dimensions
- Amount of stuffing
- Eye size
- Stitch visibility
- Overall firmness
6 Cute Frog Variations
1. Classic Green Frog
Green body + black eyes + pink cheeks.
2. Pastel Pink Frog
Soft pink with darker pink cheeks.
3. Lavender Frog
Lavender body with black embroidered features.
4. Mushroom Frog
Add a tiny removable mushroom hat.
5. Flower Frog
Place a small crochet flower near one eye.
6. Frog Prince
Add a miniature yellow crown.
These variations also give us future Pinterest creatives without needing to publish essentially the same article repeatedly.
Can You Make a No-Sew Frog?
Yes—and this deserves its own section because no-sew frog is clearly an established search intent.
Current examples range from a roughly 45-minute beginner no-sew frog from Club Crochet to newer one-piece/continuous constructions where the limbs are incorporated while crocheting.
Our pattern deliberately uses separate beginner-friendly pieces because it teaches placement and basic amigurumi assembly.
Since we already have our 15 Easy No-Sew Amigurumi Patterns for Beginners article, link to it naturally here.
Later, we can create a genuinely separate No-Sew Frog Crochet Pattern rather than stuffing two different patterns into one page.
Common Frog Amigurumi Mistakes
Uneven eyes: Pin both before sewing.
Crooked legs: Test the frog on a flat surface before attaching them.
Visible stuffing: Your hook may be too large or your tension too loose.
Lumpy body: Add fiberfill in small pieces instead of one large clump.
Wrong final shape: Recheck your stitch counts after every increase/decrease round.
Loose opening: Pull the final stitches closed securely and weave the end into the body.
Frog Amigurumi FAQ
Is this frog amigurumi suitable for beginners?
Yes. The main skills are magic ring, single crochet, increases, decreases, continuous rounds and basic sewing. Those same fundamental skills appear repeatedly in established beginner frog tutorials.
How long does a crochet frog take?
For this multi-piece version, give yourself around 2–3 hours, particularly as a beginner. Simpler current frog designs can be considerably faster, with examples targeting roughly 45 minutes to 1–2 hours.
What yarn is best?
Smooth cotton or acrylic is easier for learning. Chenille or plush yarn creates a softer plushie once you’re comfortable seeing and counting your stitches.
Can I make the frog bigger?
Yes. Use thicker yarn with an appropriate hook. Your finished frog will increase in size even if the basic construction remains similar.
Do I need safety eyes?
No. You can embroider the eyes instead.
Why doesn’t my frog sit flat?
Before permanently attaching the legs, pin them and place the frog on a table. Adjust each leg until the body sits naturally.